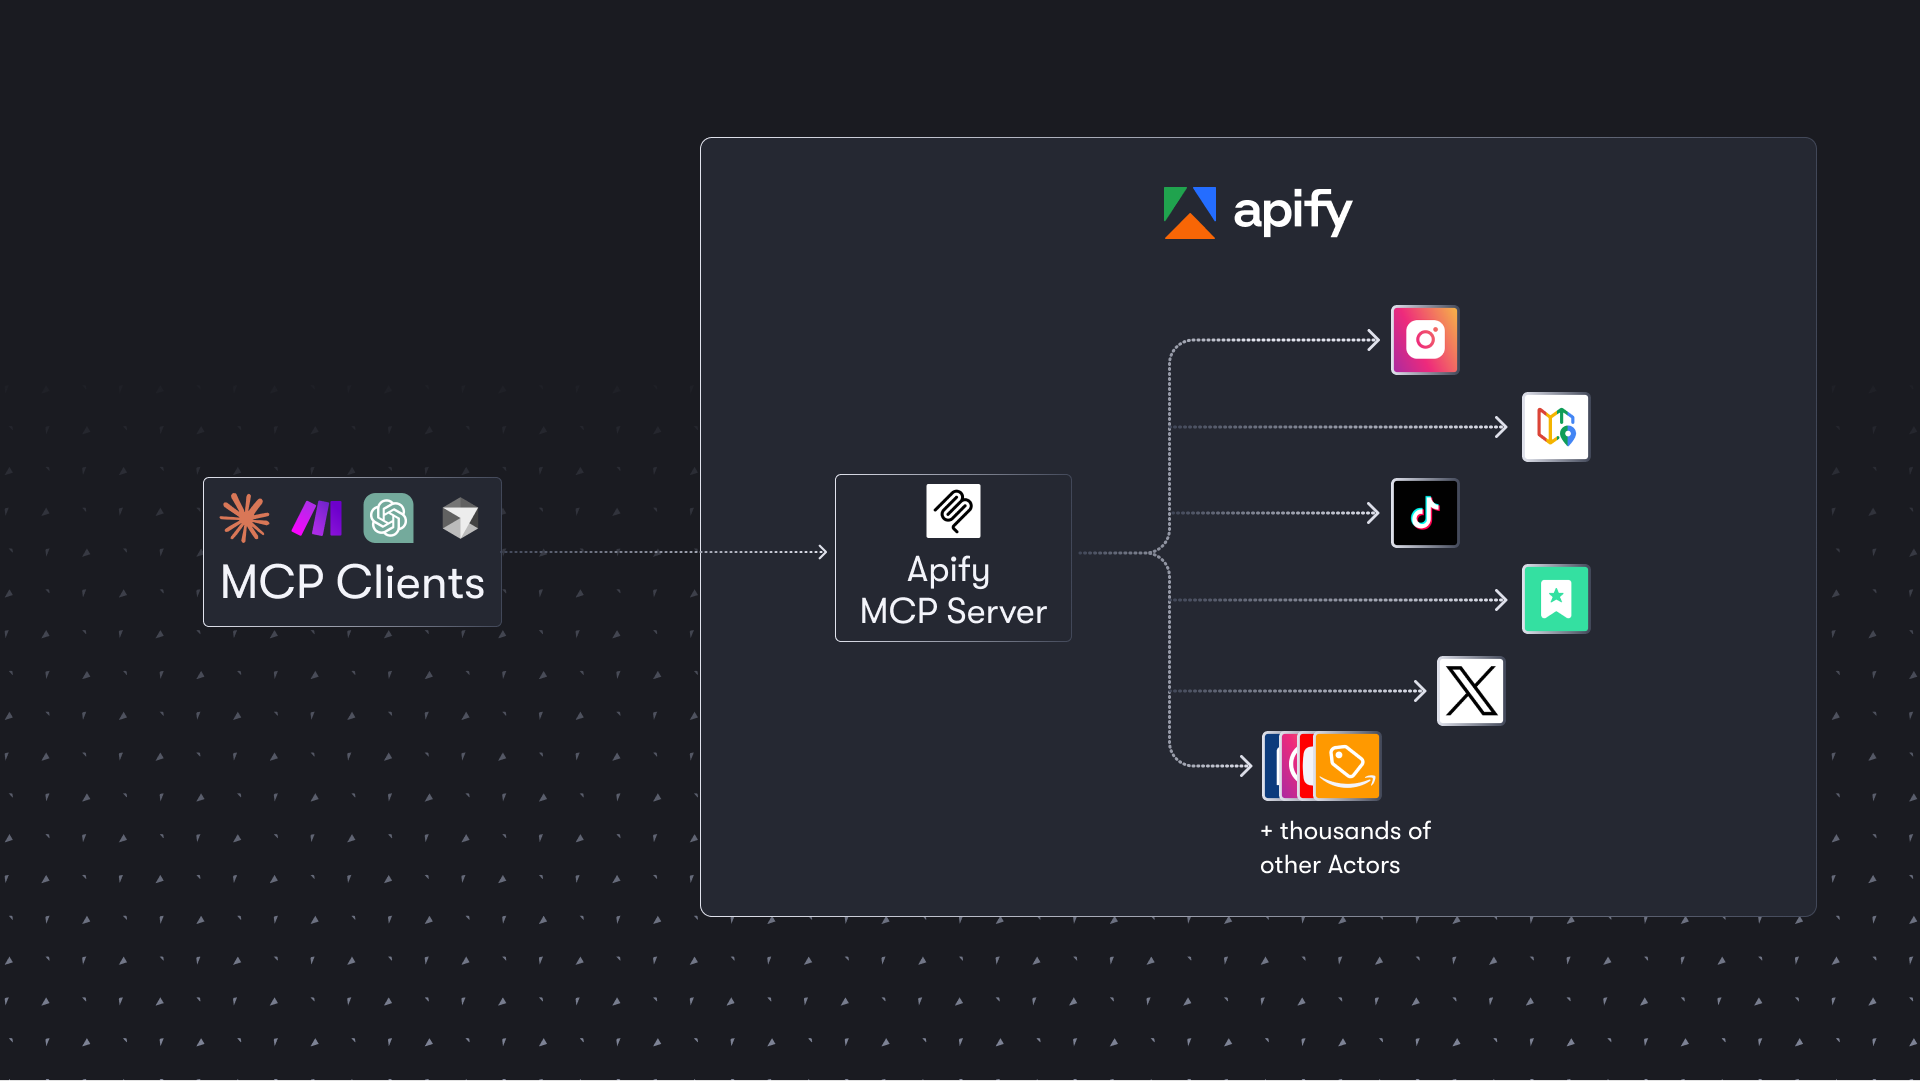
Apify MCP server
The Apify Model Context Protocol (MCP) Server enables AI applications to connect to Apify's extensive library of Actors. Tools allowing your AI agents to perform web scraping, data extraction, and automation tasks in real time.
Prerequisites
Before connecting your AI to Apify, you'll need three things:
- An Apify account - Sign up for an Apify account, if you don't have one.
- Apify API token - Get your API token from the Integrations section in Apify Console. This token authorizes the MCP server to run Actors on your behalf. Make sure to keep it secure.
- MCP client - An AI agent or client that supports Model Context Protocol (MCP) This could be Anthropic's Claude for Desktop, a VS Code extension with MCP support, or any application that implements the MCP specification. The official MCP documentation maintains a list of compatible clients.
Quick start
You can connect to the Apify MCP server in two ways: use our hosted service for a quick and easy setup, or run the server locally for development and testing.
Streamable HTTP with OAuth (recommended)
Provide the server URL https://mcp.apify.com. You will be redirected to your browser to sign in to your Apify account and approve the connection.
- OAuth
- Bearer token
When you connect for the first time, you'll be redirected to your browser to sign in to Apify and authorize the connection. This OAuth flow ensures secure authentication without exposing your API token.
{
  "mcpServers": {
    "apify": {
      "url": "https://mcp.apify.com"
    }
  }
}
You can also use your Apify token directly, instead of OAuth, by setting the Authorization: Bearer <APIFY_TOKEN> header in the MCP server configuration.
{
  "mcpServers": {
    "apify": {
      "url": "https://mcp.apify.com",
      "headers": {
        "Authorization": "Bearer <APIFY_TOKEN>"
      }
    }
  }
}
Replace <APIFY_TOKEN> with your actual Apify API token from the Integrations section.
MCP server configuration for other clients: Use the UI configuration tool to select Actors and tools, then copy the configuration to your client.
Text editor configuration
Here's how to add the Apify MCP server to popular text editors and AI assistants:
- Cursor
- VS Code
- Claude Desktop
To add Apify MCP server to Cursor:
-
Create or open the
.cursor/mcp.jsonfile. -
Add the following to the configuration file:
- OAuth
- Bearer token
{
  "mcpServers": {
    "apify": {
      "url": "https://mcp.apify.com"
    }
  }
}
When you connect for the first time, you'll be redirected to your browser to sign in to Apify and authorize the connection. This OAuth flow ensures secure authentication without exposing your API token.
You can also use your Apify token directly, instead of OAuth, by setting the
Authorization: Bearer <APIFY_TOKEN>header in the MCP server configuration.{
"mcpServers": {
"apify": {
"url": "https://mcp.apify.com",
"headers": {
"Authorization": "Bearer <APIFY_TOKEN>"
}
}
}
}Replace
<APIFY_TOKEN>with your actual Apify API token from the Integrations section.
VS Code supports MCP through GitHub Copilot's agent mode(requires Copilot subscription):
-
Ensure you have GitHub Copilot installed
-
Open Command Palette (CMD/CTRL + Shift + P) and run MCP: Open User Configuration command.
- This will open
mcp.jsonfile in your user profile. If the file does not exist, VS Code creates it for you.
- This will open
-
Add the following to the configuration file:
- OAuth
- Bearer token
{
  "mcpServers": {
    "apify": {
      "url": "https://mcp.apify.com"
    }
  }
}
When you connect for the first time, you'll be redirected to your browser to sign in to Apify and authorize the connection. This OAuth flow ensures secure authentication without exposing your API token.
You can also use your Apify token directly, instead of OAuth, by setting the
Authorization: Bearer <APIFY_TOKEN>header in the MCP server configuration.{
"mcpServers": {
"apify": {
"url": "https://mcp.apify.com",
"headers": {
"Authorization": "Bearer <APIFY_TOKEN>"
}
}
}
}Replace
<APIFY_TOKEN>with your actual Apify API token from the Integrations section.
Download and run the Apify MCP Server DXT file for one-click installation.
To manually configure Apify's MCP server for Claude Desktop:
- Open Claude Desktop settings.
- Navigate to the Developer section.
- Add the following to the configuration file:
{
  "mcpServers": {
    "actors-mcp-server": {
      "command": "npx",
      "args": ["-y", "@apify/actors-mcp-server"],
      "env": {
        "APIFY_TOKEN": "<APIFY_TOKEN>"
      }
    }
  }
}
Replace <APIFY_TOKEN> with your actual Apify API token from the Integrations section.
Local stdio
For development environments, you can run the MCP server locally. This approach gives you more control over the server configuration and is ideal for testing.
Add this to your configuration file:
{
  "mcpServers": {
    "actors-mcp-server": {
      "command": "npx",
      "args": ["-y", "@apify/actors-mcp-server"],
      "env": {
        "APIFY_TOKEN": "YOUR_APIFY_TOKEN"
      }
    }
  }
}
The server will download automatically on first use and connect using your API token.
Tool selection
By default, the MCP server loads essential tools for Actor discovery, documentation search, and the RAG Web Browser Actor. You can customize which tools are available by adding parameters to the server URL:
https://mcp.apify.com?tools=actors,docs,apify/web-scraper
For minimal setups where you only need specific Actors:
https://mcp.apify.com?tools=apify/instagram-scraper,apify/google-search-scraper
This configuration approach works for both hosted and local setups. For the CLI version:
npx @apify/actors-mcp-server --tools actors,docs,apify/web-scraper
Use the UI configurator https://mcp.apify.com/ to select your tools visually, then copy the configuration to your client.
Dynamic tool discovery
One of the most powerful features is the ability to discover and use new Actors on demand. It can search Apify Store for relevant Actors using the search-actors tool, inspect Actor details to understand required inputs, add the Actor as a new tool, and execute it with appropriate parameters.
This dynamic discovery means your AI can adapt to new tasks without manual configuration. Each discovered Actor becomes immediately available for future use in the conversation.
Available tools
| Tool name | Category | Enabled by default | Description |
|---|---|---|---|
search-actors | actors | ✅ | Search for Actors in Apify Store |
fetch-actor-details | actors | ✅ | Retrieve detailed information about a specific Actor |
call-actor | actors | ✅ | Call an Actor and get its run results |
apify/rag-web-browser | Actor | ✅ | Browse and extract web data |
search-apify-docs | docs | ✅ | Search the Apify documentation for relevant pages |
fetch-apify-docs | docs | ✅ | Fetch the full content of an Apify documentation page by its URL |
get-actor-run | runs | Get detailed information about a specific Actor run | |
get-actor-run-list | runs | Get a list of an Actor's runs, filterable by status | |
get-actor-log | runs | Retrieve the logs for a specific Actor run | |
get-dataset | storage | Get metadata about a specific dataset | |
get-dataset-items | storage | Retrieve items from a dataset with support for filtering and pagination | |
get-dataset-schema | storage | Generate a JSON schema from dataset items | |
get-key-value-store | storage | Get metadata about a specific key-value store | |
get-key-value-store-keys | storage | List the keys within a specific key-value store | |
get-key-value-store-record | storage | Get the value associated with a specific key in a key-value store | |
get-dataset-list | storage | List all available datasets for the user | |
get-key-value-store-list | storage | List all available key-value stores for the user | |
add-actor | experimental | Add an Actor as a new tool for the user to call | |
get-actor-output* | - | Retrieve the output from an Actor call which is not included in the output preview of the Actor tool. | ✅ |
The get-actor-output tool is automatically included with any Actor-related tool, such as call-actor, add-actor, or any specific Actor tool like apify-slash-rag-web-browser. When you call an Actor - either through the call-actor tool or directly via an Actor tool (e.g., apify-slash-rag-web-browser) - you receive a preview of the output. The preview depends on the Actor's output format and length; for some Actors and runs, it may include the entire output, while for others, only a limited version is returned to avoid overwhelming the LLM. To retrieve the full output of an Actor run, use the get-actor-output tool (supports limit, offset, and field filtering) with the datasetId provided by the Actor call.
Advanced usage
Production best practices
-
For production deployments, explicitly specify which tools to load rather than relying on defaults. This ensures consistent behavior across updates:
npx @apify/actors-mcp-server --tools apify/web-scraper,apify/google-search-scraper -
Always use the latest version of the server by appending
@latestto your npm commands. -
Monitor your API usage through Apify Console to stay within your plan limits.
-
For optimal performance, batch related operations when possible and use Actor webhooks for long-running tasks instead of polling for results.
Rate limits and performance
The Apify MCP server allows up to 30 requests per second per user. This limit applies to all operations including Actor runs, storage access, and
documentation queries. If you exceed this limit, you'll receive a 429 response and should implement appropriate retry logic.
Troubleshooting
Authentication errors
- Check your API token: Verify that your Apify API token is correct. You can find it in the Integrations section of the Apify Console. Without a valid token, the server cannot start Actor runs.
- Set environment variable for local development: When running the MCP server locally, ensure you have set the
APIFY_TOKENenvironment variable.
Local environment setup
- The MCP server requires Node.js v18 or higher. Check your installed version by running
node -vin your terminal. - Using the latest server version: To ensure you have the latest features and bug fixes, use the latest version of the
@apify/actors-mcp-serverpackage. You can do this by appending@latestto the package name in yournpxcommand or configuration file.
Actor execution issues
- No response or long delays: Actor runs can take time to complete depending on their task. If you're experiencing long delays, check the Actor's logs in Apify Console. The logs will provide insight into the Actor's status and show if it's processing a long operation or has encountered an error.
Support and resources
The Apify MCP Server is an open-source project. Report bugs, suggest features, or ask questions in the GitHub repository.
If you find this project useful, please star it on GitHub to show your support!
To learn more about MCP and Apify integration:
- Model Context Protocol specification - Learn about the open standard on the official MCP website – understanding the protocol can help you build custom agents.
- How to use MCP with Apify Actors - Learn how to expose over thousands of Apify Actors to AI agents with Claude and LangGraph, and configure MCP clients and servers.
- Video tutorial - Integrate thousands of Apify Actors and Agents with Claude.
- Apify Tester MCP Client - A specialized client Actor that you can run to simulate an AI agent in your browser. Useful for testing your setup with a chat UI.